


Taking your radio features to the next level (part 2)
Photo: flickr/France1978
In the second part of our post on giving your radio features that extra little something, radio producer and trainer Kyle James talks about putting your listeners right in the scene and getting creative with voice clips. Remember, the goal is to break out of those ruts that we all can fall into.
In the first post of this series, I talked about some fundamentals such as using clear, “radio-friendly” language and perking up our listeners’ ears from the very start so they’ll keep on listening. Set a scene, raise a question, play some natural/ambient sound, or introduce a character. Here’s a list of good radio scriptwriting tips.
I also talked about using sound beds to smooth out audio and avoid surprising our listeners with voice clips that have background noise in them.
This time, let’s look at how to describe to our listeners what we, the reporters, are seeing.
Tell it like it is
To state the obvious, radio offers no visuals, so we are our listeners’ eyes. That doesn’t have to involve whole paragraphs of detailed description; often a sentence or even a few well-chosen words will do. Remember, radio is theater of the mind. Take a look at the following example:
“The security guards move toward the shouting protesters.”
vs.
“The security guards are dressed in black and have helmets on with visors covering their faces. They walk shoulder to shoulder toward the shouting protesters.”
The first sentence gives our listeners the basics but that’s about it. The second example paints a much more vivid picture and communicates the intimidating sight of the guards approaching. (I know. I was there.) It’s a little longer but it’s better radio.
Under this description, we’d want to lay down sound we recorded while this was happening so that our eye-witness account was rounded out with audio.
Stand-ups at the scene
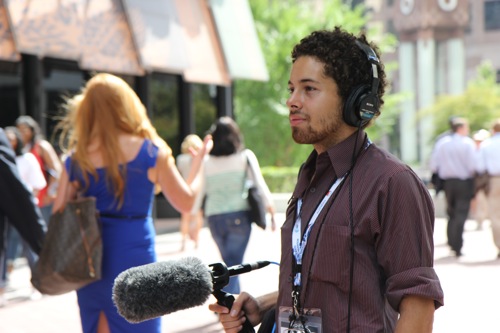
Photo: flickr/Youth Radio
Another way to paint the scene is to record your description at the scene rather than later in the studio. In broadcast lingo, this is often called a “stand-up”. In the example above, instead of writing the description of the guards into the script, I would have described the scene as I was watching the guards approach. (Keeping a safe distance, of course.)
This is very common with TV reports where the viewer sees the reporter at the scene, describing what’s happening.
Radio stand-ups used to be more common in the past (at least in the US where I’m from) since a lot of news radio was live and unscripted. But things changed and reports began to be written before they were voiced. This made things sound smooth and professional but the downside was that some of the spontaneity, the you-are-there feeling, was lost.
The stand-up can help brings a “live” element to your piece even though the final product was produced in the studio or your home office. Here’s an example of a feature I did on the US embassy in Berlin. The stand-up starts at 17 seconds.
I chose to do this stand-up since there was very little sound in the lobby and I thought just describing the space from the studio would be kind of boring. So, while you can’t hear much in the background, you do get a sense of the cavernous size of room from the sound echoing in the space.
Stand-ups are more difficult, definitely, than reading off a script and not everyone is good at it. You have to have the ability to speak clearly in a focused way while things are happening. It helps if you keep the language simple and your sentences short.
Action, action!
Especially effective stand-ups involve some sort of action. Something might be going on during the stand-up and the reporter is describing it.
STAND-UP:“I’m standing here at the corner of 3rd and 5th streets while an unbroken stream of cars rushes by. This is why residents say the city needs to install a traffic light here so children can cross the street safely on their way to school.”
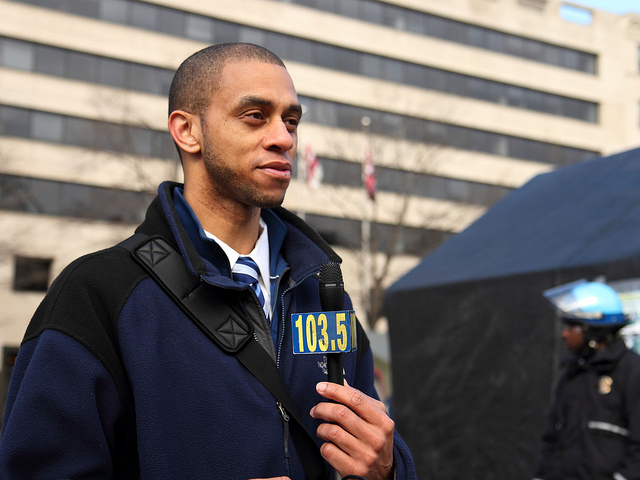
Putting yourself at the scene and recording your impressions can result in good radio (Photo: flickr/Mr. T in DC)
The something that’s going on here is heavy traffic. Admittedly, that’s not the most exciting thing around but it has to do with the story and gives the listener a sense of the issue. (Especially if the reporter has to yell over the noise of trucks going by.)
Another way to spice up your audio is to talk on tape while you or your interviewee are doing something. One of my favorite pieces from several years ago is about a wearable suit that simulates the feeling of being 75 years old. I decided to try it on and recorded my own reactions (:17). (If I could do it over, I’d speak more slowly. But hey, no one’s perfect.)
Creative clip placement
Voice clips, or actualities (acts), are pretty much the lifeblood of radio features. If you don’t have pretty good clips, it’s going to be tough to make a compelling feature. And remember, the best voice clips are not the ones with a lot of factual information. In general, the best clips are:
- Opinionated
- Emotional
- Eyewitness accounts
- Maybe even funny or with a nice turn of phrase
In short, the voice clips should say things the neutral reporter cannot say. If you do use voice clips to give the facts, such as when you’re talking to a scientist describing her latest invention, at least make sure the voice clip is understandable to a general audience and not loaded with technical jargon.
(For a pretty detailed look at voice clips, what’s good, how to work with less-than-stellar clips, etc., check out this article with audio examples from US radio superstar Nancy Updike on the always-interesting Transom website.)
You can get creative by changing the way you place your clips. Remember, we’re breaking out of the act-and-tracks rut.
Delayed ID
It is more usual to identify who is speaking in a voice clip BEFORE you run it. However, a good way to vary the rhythm of a piece is to introduce a few seconds of a clip without any ID. Then, you give the name of the person right AFTER it plays. This works if you’ve got a short, punchy few words you can use, something that runs no more than, say, ten seconds. (Otherwise, people might start wondering, “who IS this guy?”)
And you usually need to play the rest of the clip after your first punch. Here’s an example:
At eight seconds in, I run a clip by a young man at a protest. He said a few powerful words, only five seconds. Then I came in again, gave his name, explained about pent-up violence and then played the rest of his clip.
Back to back
Another way to shake things up a bit is to put two voice clips from different people back to back. Some call this ‘tape-to-tape’. The ID for the second clip comes after it plays. The clips need to be related in some way so it makes sense having them slammed up against one another. It can be an interesting way to present points of view that are opposing or which opinions which naturally feed into one another.
Listen to this excerpt from a piece I did about a kind of kindergarten for grown men. The first of the two back-to-back clips starts at :13, and then I transition immediately to the second at about :23.
This works because it’s a husband and wife speaking about one topic, so there’s a definite relation. She’s talking about dropping her husband off at this center and what he’ll do, and his voice clip builds on that, giving his opinion about day care for grown-ups.
Nothing ventured, nothing gained
Photo: flickr/PaulSh
That’s all the specifics I’ll look at in this post. But I encourage you to let your creative juices flow. Try out new things. Experiment.
If something doesn’t work out, you can go back to the tried and true. Then look at another new approach for your next piece.
One of the best things about radio features is that you can often play around a little more than you can with straight news stories. Take advantage of it.
Written by Kyle James, edited by Kate Hairsine


![]()