


Tips for basic audio editing
 When conducting radio journalism workshops, I’m often surprised to find that some radio journalists – even quite experienced ones – don’t know how to edit audio on a computer. Some radio journalists either do all their interviews live or when they need recorded audio edited, they ask a colleague to do it.
This is surprising not only because digital audio editing is such a useful skill, but also because basic editing is pretty easy to learn. This goes for journalists who don’t always work in radio too.
So for the workshops I’ve developed this step-by-step guide to basic audio editing. The concept should work for whatever editing program you have access to. The exact commands may change from program to program.
Although this guide is meant for beginners, experienced audio editors might want to take a look too. I developed this way of working to make sure your audio files are well organized and you always keep a backup copy of the original sound.
So let’s imagine we have a ten minute interview on our audio recorder and we want to edit it down to four minutes.
- Connect your audio recorder to your computer.
- Create a folder on your computer. Name the folder so you will remember what it is – for example “Fuel protest 17 Sept 13”.
- In that folder create two folders – “Raw audio” and “Edited audio”.
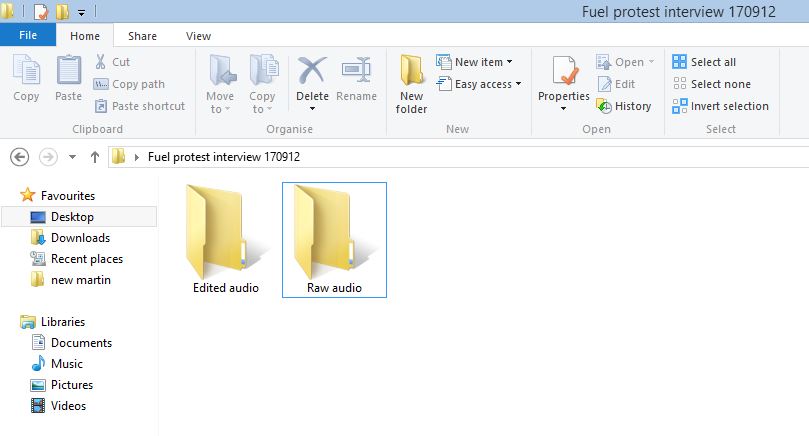
Once you have created the folders on your computer it will look something like this
- Copy the sound file from the audio recorder into the folder “Raw audio”.
- Disconnect your audio recorder. (This step is important. Now if anything goes wrong, you still have an untouched copy of the original file you can go back to.)
- Open the sound file in your audio editor.
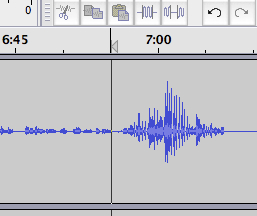
- Select and delete the parts of the audio you don’t want. (This is the easiest way to edit. Most editors work the same way – you select the audio you want to delete using the mouse and then press the delete key.)
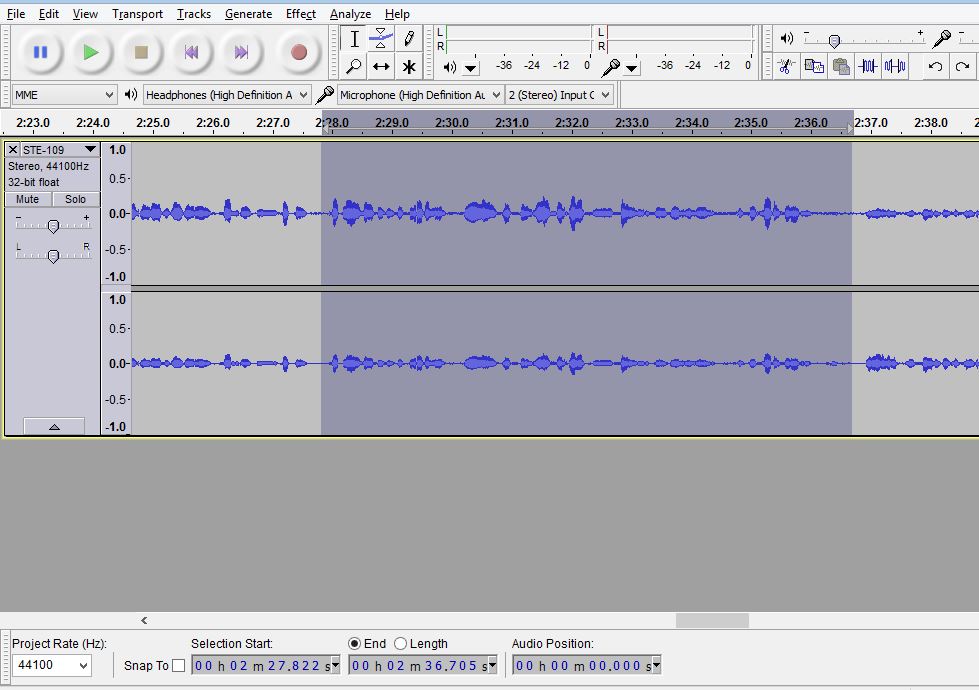
Highlight the audio you don’t want and delete it. This is what it looks like in the program Audacity
- Keep deleting until you are happy with the interview. (Don’t try to edit out every single breath, “ummm” and “ahhhh” or do very fine edits. You should only edit when there is plenty of space between words. The final product should sound natural. Use the “Zoom In” function to help you. The rule is – If you can hear in the final audio that the interview has been edited, it’s a bad edit.)
- Now use the “Save as…” command to save the edited audio.
- Save the audio in the “Edited audio” folder with a name that describes it. For example “Fuel protest 170912 old man interview edited.”
- That’s it. Pretty simple, huh?
Now, of course, each audio editing program is different and you will need to get to know a program before you feel confident. The idea here, however, is to give you a guide so you get up the courage to play around a bit. So have fun! And let us know how you do.
Author: Martin Vogl


![]()
Feedback