Tools and Apps for Journalists: Monopod
 We all know that achieving a steady shot or reducing blur in an image is much easier with a tripod. It’s one of the most essential pieces of equipment for photographers, VJ’s and camera operators.
But what about the humble monopod?
From getting a high shot over a crowd to supporting a camera, a monopod is one of the most useful tools that should be in your kit bag.
And whether you’re working with a camcorder, a digital camera or a smarthphone, read on to find out more about using a monopod and adapting it to your filming needs.
What is a monopod?
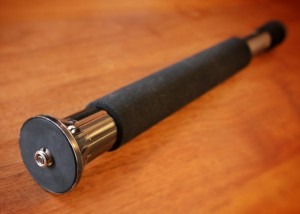
As an extendable pole with a standard camera mount, monopods don’t really come in vastly different shapes, but more in different sizes.
Monopods are lightweight and usually made from either of carbon fiber or aluminium. Typically the monopod has four or five sections that extend like an antenna or telescope and lock off by twisting or with a lever.
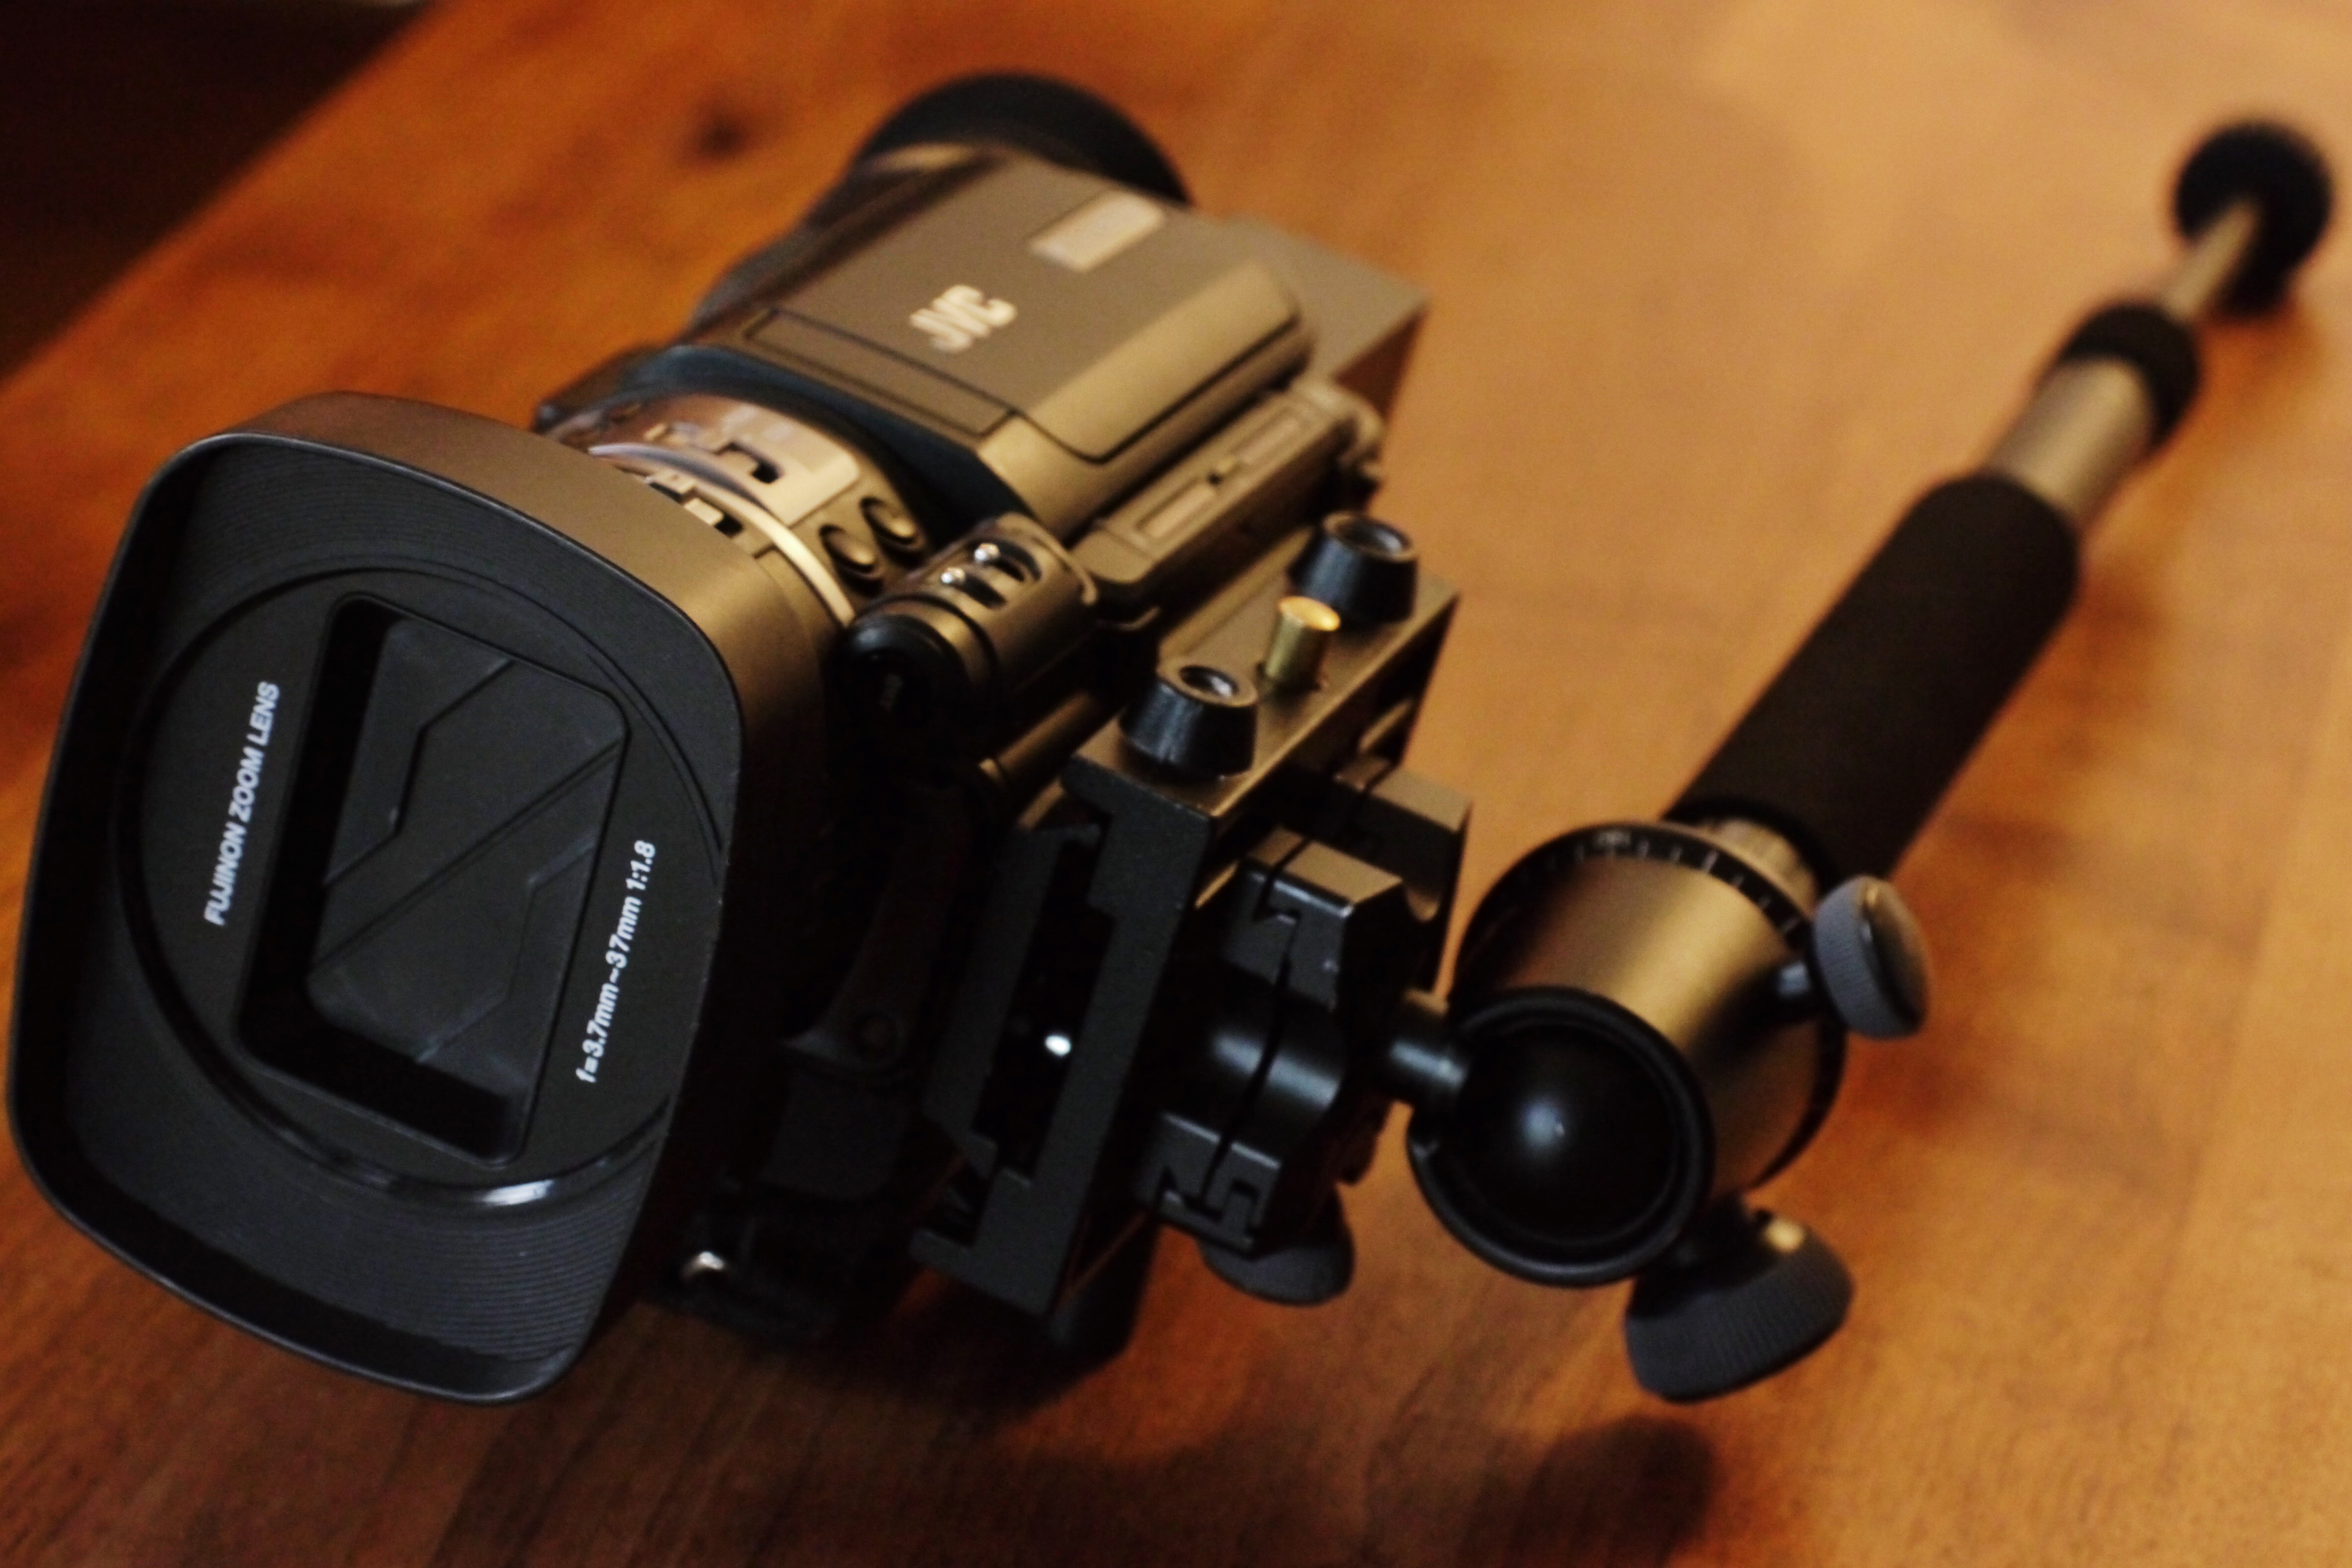
All monopods will have at least the standard 1/4-20 screw to mount a camera or camcorder. This will also give you the option of adding a ball head to tilt or rotate the camera.
If you are intending to use your monopod for video work then it would be worth investing in a good fluid head to attach to your monopod.
Take a look at this introductory video from Lynda tutorials to see more.
Standing tall
Ideally a good professional monopod usually extends to least 170-180 cm which should put a camera, smartphone or camcorder in the range of most people’s eye level.
That’s important for photographers and particularly videographers who might be using monopods to record an interview.
Shorter but just as good
Shorter monopods might not stand as tall as their big brothers, but that doesn’t mean they can’t do the same work.
If you are standing and need your camera to work at eye level, say for an interview, you could simply place the monopod on a chair or table to increase the working height.
Or, you could use a clip-on pouch on a belt which will means you’re starting from around waist height.
A shorter monopod also has the advantage of being lighter and more compact for carrying around.
Using a monopod
The monopod offers you much improved stability over hand held and it’s one of those tools that can be easily adapted to your style of photography or filming to achieve a variety of shots.
Here are some ideas to get started.
Go high – extend your camera above crowds to film over people’s heads.
Hold it steady – support from the ground up to avoid shaky sore arms when filming.
Hand held support – even when collapsed, a monopod offers a simple way of making a camera steady. Try using the monopod as a basic steadycam support.
Shoulder support – with a ball head, a DSLR or camcorder can be tilted back 90 degrees so a monopod can be used as spar to rest on your shoulder, or try tucking the monopod under your arm.
Look at me – VJ’s or mobile journalists can use a monopod for a quick and steady piece to camera. Adjust the monopod and camera to your required height and hold the monopod at arm’s length from you.
For more ideas and shooting tips with monopods, check out this tutorial from the Vimeo Video School.
Monopod Mania from Vimeo Video School on Vimeo.
What else should I know about monopods?
Costs: There are dozens of monopods of all sizes to suit every budget: from 30 – 300 Euro.
Variations: Here a couple of different types of monopods or camera supports to consider.
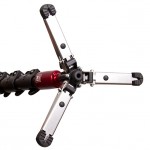
 Manfrotto and Benro produce professional monopods that not only feature a fluid head to mount a camcorder or DLSR but retractable feet – effectively turning the monopod into something like a tripod that can stand up right on its own and support smaller cameras.
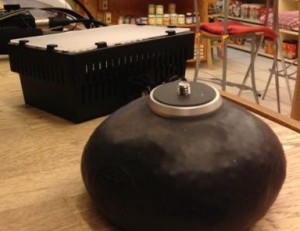
 And for something completely different, check out the Ballpod.
Filled with a bean-like filler, this silicon bag is not a really a monopod but great variation of a camera bag support. It can be shaped to make a stable support on uneven surfaces or cramped spaces to support either a small DSLR camera or something else such as a LED light.
Author: Guy Degen


Feedback